Maja Lindberg, New Releases, White Christmas
‘Christmas Tags’ by Heather McMahon
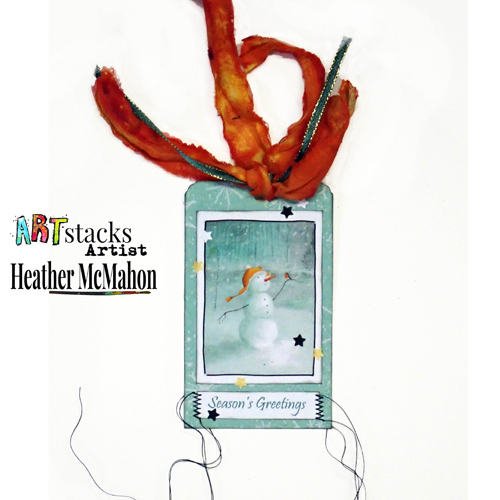
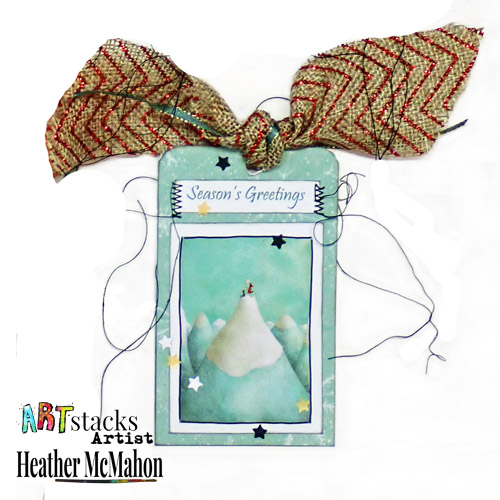
Heather McMahon has created these stunning Christmas tags using the digital version of our new-release White Christmas pack by Maja Lindberg!

Heather leads us through her step-by-step process so you can create your own tags:
- Using the digital “White Christmas” pack, print the first page of the pack (the one with the snowman) at a quarter size. I used an A4 sized pack, so I printed the page at A6 size. Also print out a full page of the green background page with the white snowflakes and the page with the words. Print both of these at normal size (A4 or US letter size).
- Cut out each image, leaving a white border, then use a pen to trace around the images. Aren’t these gorgeous?
- Cut out the four “Season’s Greetings” words from the words page, keeping them a similar width to the images.
- Cut out rectangles from the background paper as the base for the tags. The length of my tags is half the width of the full sheet. Use a corner punch on two corners and create a hole with a hole punch.
- Ink the edges of all the images, the words and the tags.
- Adhere the images and words in place. Use a sewing machine and, with a zig-zag stitch, stitch the ends of the words, leaving long tails on the threads.
- Add ribbons. I picked out a colour from each tag and added a coordinating ribbon plus a fine green one that matched the tags.
Here are some close-ups of some of the tags:
Click on the image below to see the other stunning images in Maja Lindberg’s pack:
Heather will be back later with another set of tags using the same method!
